How to Care for and Maintain Your Non-Toxic Cookware: Complete Guide
You know that moment when you’ve invested in beautiful, healthy cookware, only to find yourself staring at a stuck-on mess wondering, “How did this happen?” I’ve been there!
Here’s the thing – non-toxic cookware isn’t just a trend, it’s a crucial investment in your family’s health. According to recent studies by the Environmental Working Group, traditional non-stick coatings can release harmful chemicals when damaged or overheated.
But here’s the good news: with proper care, your healthy cookware can last for decades! In fact, I’m still using the same stainless steel pans my mother handed down to me almost 10 years ago.
In this article, I’ll share everything I’ve learned about keeping your non-toxic cookware in pristine condition. From daily cleaning routines to restoration techniques, we’ll cover all the essential care practices that will show you how to care for and maintain your non-toxic cookware.
Understanding Different Types of Non-Toxic Cookware
When I first started exploring non-toxic cookware, I was totally overwhelmed by all the options! I remember buying my first ceramic pan and treating it exactly like my old non-stick ones. Big mistake! Each type of non-toxic cookware has its own personality, and learning these differences has been a game-changer for my cooking.
Ceramic-coated cookware is like that friend who’s amazing but needs a bit of extra care. The key thing I’ve learned is that these pans don’t play well with high heat – keep things medium or lower, folks!
I ruined my first ceramic pan by cranking up the heat, thinking it would sear better. Spoiler alert: it didn’t. The coating started to wear within months. Now I keep things cooler, and my current ceramic pans have lasted three years and counting!
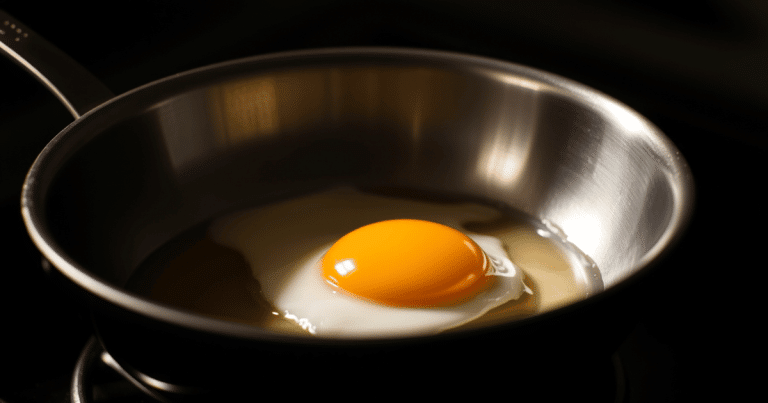
When it comes to stainless steel, think of it as the workhorse of your kitchen. It’s practically indestructible if you treat it right. The secret? Preheat your pan before adding oil – this creates a natural non-stick surface. I discovered this trick after countless frustrating attempts at cooking eggs that ended up looking like scrambled even when I was aiming for over-easy!

Cast iron and carbon steel are like fine wines – they actually get better with age. The patina you build up over time becomes your best friend in the kitchen. I remember being terrified of my first cast iron pan, but now it’s my go-to for everything from cornbread to steak. Just remember, these pans hate soap and love oil!
Glass cookware is surprisingly versatile, but thermal shock is its kryptonite. Learn from my mistake: never put a hot glass dish under cold water. The sound of my favorite glass baking dish shattering still haunts me! Now I always let glass cookware cool naturally before cleaning.
Here’s a quick cheat sheet I’ve developed over the years:
- Ceramic Coated: Medium heat max, no metal utensils, gentle cleaning
- Stainless Steel: Any heat level, but preheat before oil
- Cast Iron/Carbon Steel: High heat okay, minimal soap, regular seasoning
- Glass: Oven-safe but watch for thermal shock
Essential Daily Cleaning Practices for Non-Toxic Cookware
The biggest game-changer in my kitchen wasn’t some fancy cleaning product. It was learning when to clean each type of pan. Timing really is everything!
Here’s a mistake I used to make all the time: I’d finish cooking and immediately soak my hot pans in cold water. Don’t do this!
I can’t tell you how many times I warped my expensive cookware this way. Now I let everything cool down to warm (not hot, not cold) before cleaning. Your pans will thank you for this simple patience!
Let me share my daily cleaning routine that’s kept my cookware looking amazing:
For ceramic coated pans:
- Wait until they’re warm (not hot!)
- Wipe with a soft cloth or paper towel first
- Use warm water and gentle dish soap
- Never, ever scrub with anything abrasive (learned that one the expensive way!)
For stainless steel:
Here’s a cool trick I discovered – deglaze your pan while it’s still warm! Even if you’re not making a sauce, a splash of hot water while the pan is still warm helps lift stuck-on food like magic. Just watch out for the steam! I’ve burned my hand more than once getting too excited about this technique.
For cast iron and carbon steel:
Y’all, this was a revelation – you don’t need soap! In fact, soap is your enemy here.
After cooking:
- Wipe out any excess food while warm
- Rinse with hot water (if needed)
- Dry immediately (I’m talking immediately-immediately)
- Apply a thin layer of oil
- Store

One thing that drives me nuts is seeing people use steel wool on their non-toxic cookware. I get it – you want it super clean! But trust me on this one: gentle tools are your friends. I keep a dedicated set of cleaning supplies just for my cookware:
- Soft sponges for daily cleaning
- Wooden scrapers for stuck bits
- Natural fiber brushes for textured surfaces
- Microfiber cloths for drying
Let’s talk about stuck-on food because we’ve all been there! Instead of reaching for harsh cleaners, try this method that’s saved my pans countless times:
- Add water to cover the stuck food
- Bring to a gentle simmer
- Use a wooden spoon to slowly loosen the food
- Wipe clean
Preventing Damage and Extending Cookware Lifespan
Temperature management is your best friend here. I remember the day I ruined my favorite ceramic pan by preheating it empty on high heat – rookie mistake!
Now I always add a little oil or liquid before heating, and I never walk away from a preheating pan.
Here’s my tried-and-true method for heating any non-toxic pan:
- Start on medium-low heat
- Add a small amount of oil or liquid
- Give it 2-3 minutes to warm up evenly
- Adjust temperature as needed
Let’s talk about utensils because this is huge! I used to think metal utensils were fine on everything – until I saw the scratches they left on my ceramic cookware. Now I’m super particular about what touches my pans:
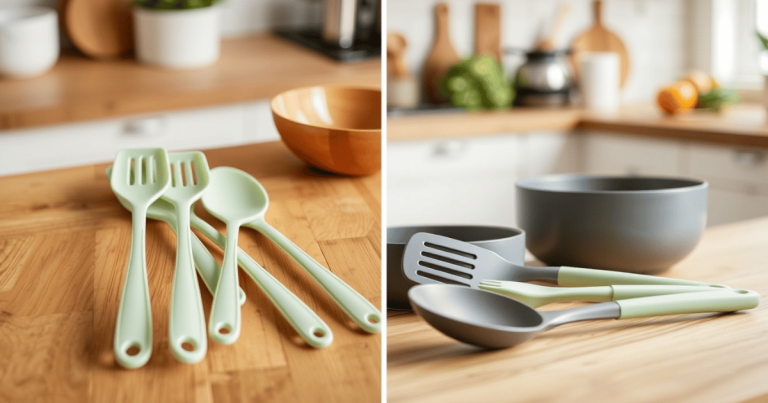
For ceramic and non-stick surfaces:
- Wooden spoons and spatulas
- Silicone tools
- Bamboo utensils
For stainless steel and cast iron:
- Any utensil is technically okay
- But I still prefer wooden tools to prevent scratching
- Metal’s fine for deglazing though!
Storage is another big one. Y’all, I used to stack my pans like they were playing Jenga! Now each piece gets treated like the investment it is. Here’s my current system:
- Pan protectors between each piece (old kitchen towels work great!)
- Vertical storage when possible
- Lids stored separately to prevent moisture traps
- Never hang ceramic pans (learned that when one fell and chipped!)
Temperature shock is the silent killer of good cookware. I once watched in horror as my glass baking dish shattered when I moved it from the oven directly to a cold counter. Now I always use:
- Trivets or wooden boards for hot pans
- Gradual temperature changes
- Cool-down periods before cleaning
Here’s something that took me way too long to learn – dry your cookware completely before storing! Any moisture left can lead to rust or damage. I keep a dedicated drawer of clean kitchen towels just for drying my pans.
The biggest game-changer for me was learning about heat distribution. My stove has some hot spots (like most do). It’s even worse with an electric stove. It took me a while to get the hang of the temperature setting when I had an electric stove a few years ago. Since then, I’ve learned to:
- Rotate pans occasionally for even heating
- Use appropriately sized burners
- Watch for signs of uneven heating (like food cooking faster on one side)
One tip that’s saved me countless times: keep a close eye on your handles and attachments. A loose handle can lead to disaster (ask me about the Great Pasta Spill of 2019!). I check all screws and attachments monthly now – it takes five minutes but saves so much hassle.
Restoring and Rejuvenating Your Non-Toxic Cookware
Let me tell you about the day I almost threw away my favorite stainless steel pan because it looked beyond saving. The bottom was covered in what I thought were permanent burn marks, and the inside had this rainbow patina that wouldn’t budge. But after some research and experimentation, I discovered that most “ruined” cookware can actually be brought back to life!
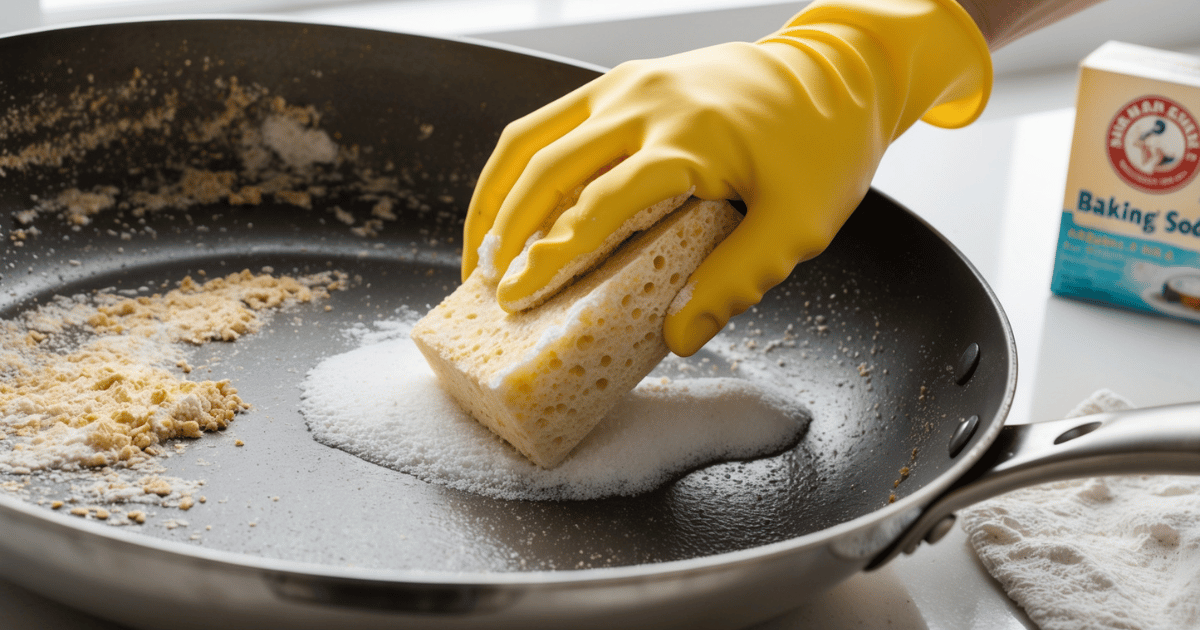
First, let’s talk about natural cleaning solutions because these have been total game-changers in my kitchen. My go-to mixture is:
- 1 part baking soda
- 1 part water
- A splash of white vinegar
This paste works wonders on stainless steel! I had this pan with stubborn brown stains that had been driving me nuts for months. After applying this mixture and letting it sit for 30 minutes, those stains wiped right off. It was like kitchen magic!
For ceramic cookware that’s lost its non-stick properties, I’ve developed this restoration routine:
- Deep clean with baking soda paste
- Rinse thoroughly
- Dry completely
- Apply a thin layer of coconut oil
- Heat on low for 2 minutes
- Let cool and wipe clean
Now, let’s talk about those dreaded scratches and marks. You know that sinking feeling when you see the first scratch on your beautiful pan? Been there! While deep scratches mean it’s time to retire the pan (safety first!), minor surface marks can often be addressed.
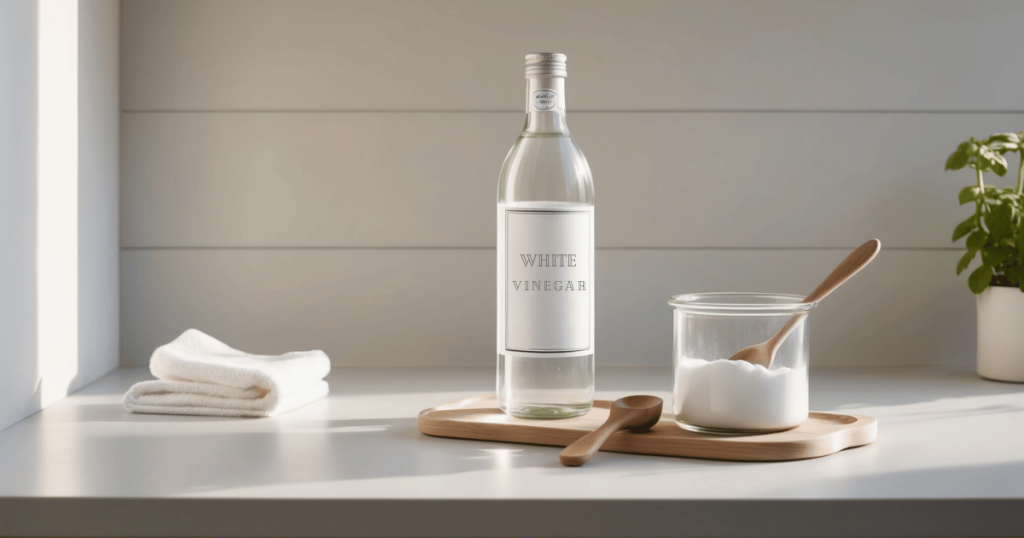
For stainless steel discoloration:
- Boil equal parts water and white vinegar
- Let it cool naturally
- Wash normally
- Marvel at the shine!
Cast iron restoration is my favorite because it’s so satisfying! I once rescued a rusty cast iron skillet from a garage sale for $5, and now it’s one of my best pans. Here’s my restoration process:
- Scrub with steel wool to remove rust
- Wash and dry thoroughly
- Apply thin layers of oil
- Bake upside down at 450°F for an hour
- Repeat 2-3 times
Sometimes the issue isn’t stains but sticky residue. I discovered this amazing trick by accident – heat the pan gently, then sprinkle with coarse salt and use half a lemon to scrub. The natural acids in the lemon combined with the abrasive salt work wonders!
One thing I’ve learned about restoration is patience. You might need to repeat treatments several times to get the results you want. It’s like training for a marathon – you can’t rush the process!
Seasoning and Maintaining Natural Non-Stick Properties
Here’s the thing about seasoning – it’s not just for cast iron! While different materials need different approaches, building up a good cooking surface is crucial for most non-toxic cookware. Let me share my tried-and-true methods that I’ve developed over years of trial and error.
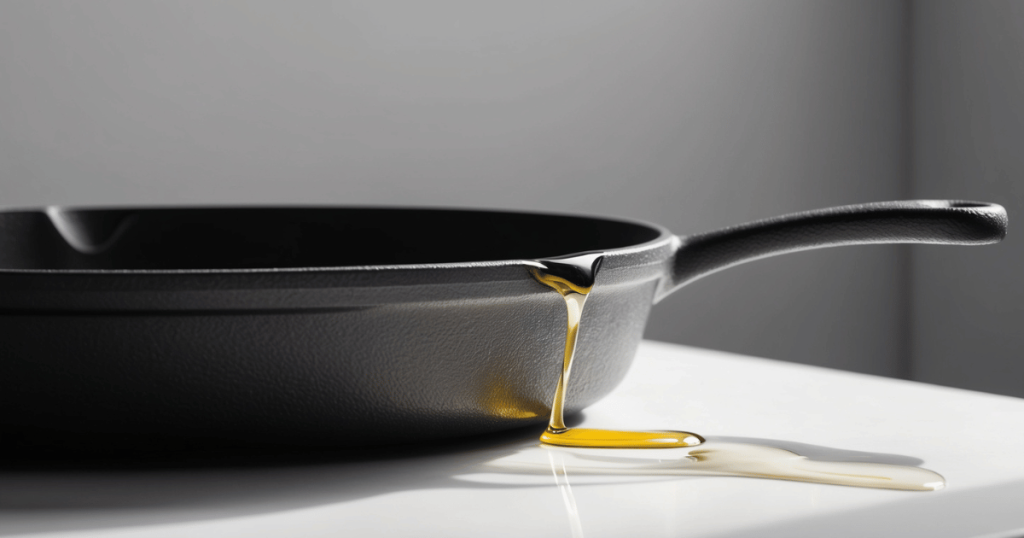
For cast iron and carbon steel seasoning:
- Start with a clean, dry pan
- Apply a super thin layer of high-smoke-point oil (I love grapeseed or avocado)
- Wipe it until it looks like there’s almost no oil left
- Heat at 450°F for one hour
- Let cool completely
- Repeat 2-3 times
Here’s a mistake I made early on – using too much oil during seasoning. It left my pan sticky and gummy. Remember: when you think you’ve wiped enough oil off, wipe it one more time! Less is definitely more here.
For maintaining stainless steel’s natural non-stick properties:
- Always preheat before adding oil
- Use the water droplet test (drops should bead and dance)
- Season lightly after deep cleaning
- Never start with cold oil in a cold pan
The oil you choose matters hugely! After experimenting with pretty much every oil out there, here’s what I’ve found works best:
- For initial seasoning: grapeseed or flaxseed oil
- For maintenance: avocado or regular olive oil
- For daily cooking: whatever you prefer!
Signs it’s time to re-season include:
- Food starting to stick more than usual
- Uneven cooking surface
- Dull or patchy appearance
- After deep cleaning or scrubbing
Building up that natural patina is like growing a garden – it takes time and regular attention. One cool trick I discovered for accelerating the process on cast iron: cook bacon! Seriously, a few rounds of bacon-cooking does wonders for building up that non-stick surface.
Here’s my weekly maintenance routine:
- After cleaning, dry thoroughly on low heat
- Apply a tiny bit of oil while still warm
- Let cool completely before storing
- Use frequently (the more you cook, the better it gets!)
The biggest revelation for me was learning that seasoning isn’t a one-and-done process. It’s more like maintaining a relationship – it needs regular attention and care. Each time you cook with proper technique, you’re adding to that seasoning layer.
Temperature control is crucial for maintaining your seasoning:
- Medium heat is usually plenty
- Let the pan heat gradually
- Avoid extreme temperature changes
- Don’t be afraid of a little smoke during initial seasoning
Key takeaways
How to take care of and maintain your non-toxic cookware might seem overwhelming at first, but it’s really about developing simple, consistent habits.
Remember:
- Clean appropriately for each type of cookware
- Season regularly
- Pay attention to temperature management
- Address issues promptly
- Be patient with the process
Stay safe and happy cooking!
Looking for more non-toxic home products? Check out the 16 Best Non-Toxic Home Products for a Healthier Living Space in 2024.
FAQs
How to properly take care of a non-stick pan?
Never use high heat – keep temperature at medium or lower
Use only non-metal utensils (wooden, silicone, or bamboo)
For daily cleaning:Let the pan cool to warm temperature (not hot, not cold)
Wipe with a soft cloth or paper towel first
Use warm water and gentle dish soap
Never use abrasive scrubbers
Store properly: Use pan protectors between pieces when stacking
Make sure pans are completely dry before storing
Are non-toxic pans safe?
Non-toxic cookware is a crucial investment in family health. Non-stick coatings can release harmful chemicals when damaged or overheated. With proper care, non-toxic cookware is safe and can last for decades
What to look for when buying non-toxic pots and pans?
Choosing the right cookware comes down to understanding both your cooking style and each material’s unique properties. Here’s what to consider:
Assess Your Cooking Style:
Do you often cook on high heat? Look for stainless steel or cast iron Love quick, gentle cooking? Ceramic-coated might be perfect
Bake frequently? Consider glass cookware
Do lots of acidic cooking (tomatoes, citrus)? Stainless steel is your friend
Material Characteristics For each type, here’s what to expect:
Ceramic-Coated:
Look for: Smooth, even coating without bubbles or imperfections
Check that handles are securely attached
Verify it’s rated for your typical cooking temperature range
Confirm it’s PTFE and PFOA-free
Stainless Steel:
Look for: Heavy-bottom construction for even heating
Check for 18/10 grade steel for best durability
Ensure handles are riveted or welded securely
Consider tri-ply or multi-ply construction for better heat distribution
Cast Iron/Carbon Steel:
Look for: Even surface without cracks or rough spots
Check the weight – heavier usually means better quality
Pre-seasoned is nice but not essential
Examine handle construction and comfort
Glass:
Look for: Thermal shock resistance ratings
Check for oven-safe temperature limits
Verify the glass is tempered
Examine for any chips or imperfections
Practical Considerations:
Weight: Make sure you can comfortably lift the pan when full
Storage space: Consider your kitchen storage limitations
Maintenance time: Be honest about how much care you’re willing to provide
Budget: Remember that quality non-toxic cookware is an investment in your family’s health
Versatility: Consider pieces that can serve multiple purposes